Ever looked at a single electrical outlet and wondered, “What if I could light up my whole room with LEDs from just this one point?” You’re not alone! Today, we’ll explore how to connect multiple LED strips to a single power source, a process that’s simpler than it seems and highly rewarding. By mastering this, you can transform your space into a vibrant, personalized haven filled with colorful light.
Why Connect Multiple LED Strips?
Using multiple LED strips enhances your lighting and creates a cohesive, visually stunning environment. This method reduces clutter, minimizes the need for multiple power adapters, and allows for consistent control over brightness and hue. Whether you aim to create mood lighting or boost task efficiency, this approach guarantees a seamless fusion of light and function.
Essential Tools and Materials Embarking on this DIY project requires some essential tools: a soldering iron, wire strippers, connectors, voltage meters, wires, heat shrink tubing, and electrical tape. For a professional look, consider using LED channel tracks and diffusers. Additionally, a compatible controller or dimmer can elevate your setup, allowing for brightness and hue adjustments.
Step-by-Step Process
- Check Compatibility: Ensure your LED strips match the power source voltage.
- Measure and Cut: Measure and cut the LED strips to fit your space.
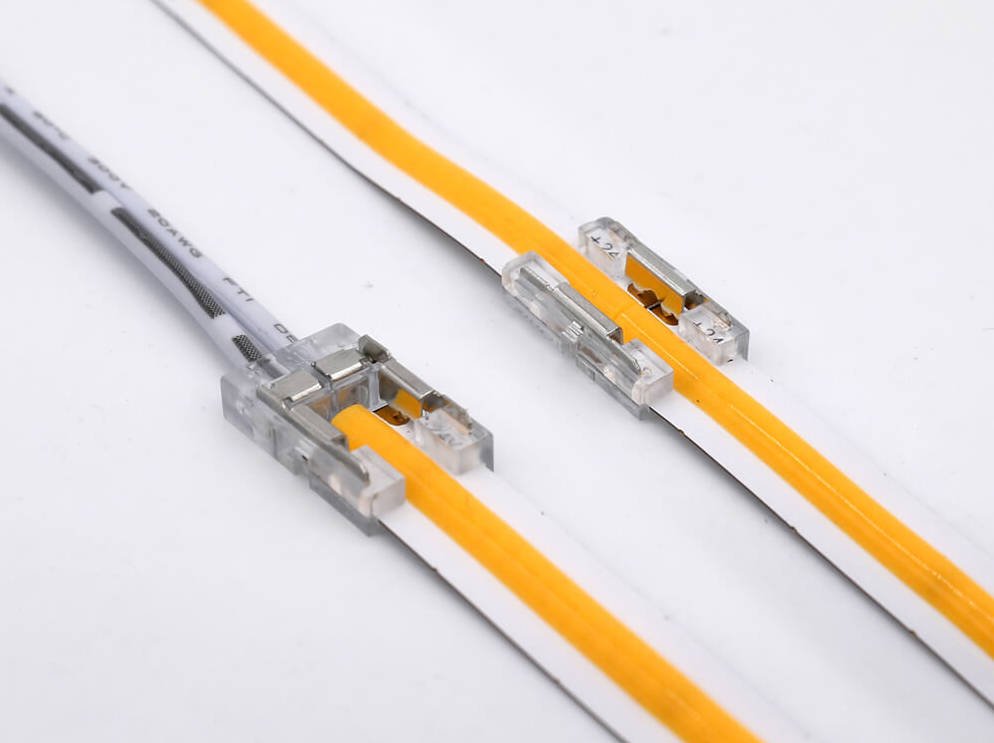
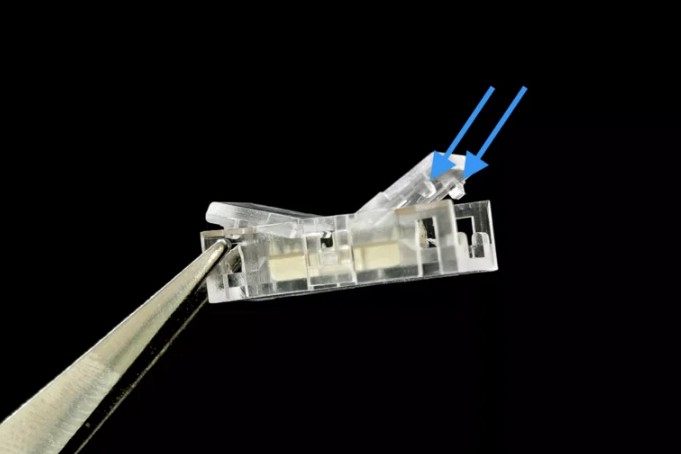
- Connect Strips: Strip the ends and solder or use connectors to join the strips.
- Test Connections: Test your setup for any flickering or inconsistencies.
- Install: Securely install the strips using adhesive backing or mounting clips.
- Add a Controller: Integrate a dimmer or controller for enhanced control.
Connection Methods
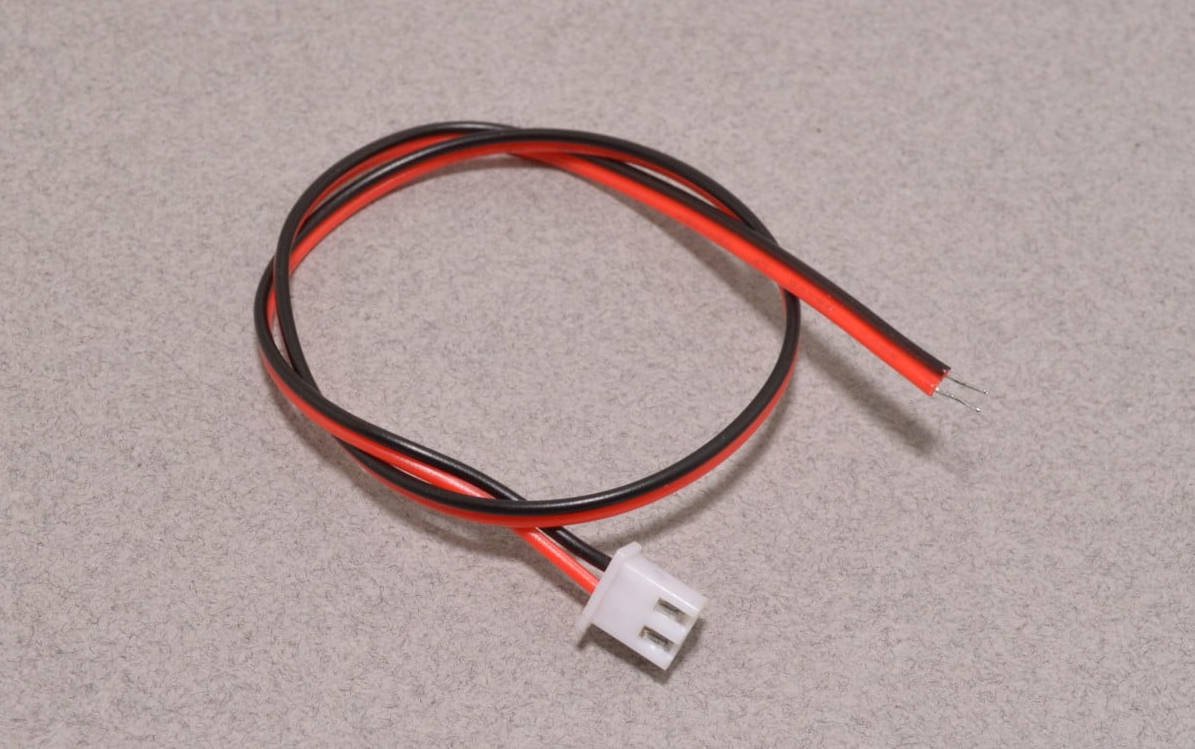
- LED Splitters: Easy installation and consistent brightness but limited capacity.
- Soldering: Permanent and stable connections, ideal for durable installations but requires technical skill.
- LED Connectors/Adapters: Simple and efficient, great for temporary setups.
Series vs. Parallel Connections
- Series: Simple but may cause voltage drops and reduced brightness.
- Parallel: Ensures consistent brightness and reliability but requires more wiring.
Power Requirements Calculate the total wattage by summing the wattage of each strip. Choose a power supply unit (PSU) that exceeds this total by 20% to ensure longevity and prevent overheating.
Troubleshooting Common Issues
- Flickering Lights: Check power adapter capacity and tighten connections.
- Dimming: Verify power supply and check for voltage drops.
- Non-Functioning Strips: Reevaluate wiring, check for short circuits, and ensure correct polarity.
Effective Power Distribution Strategies Using a parallel circuit ensures optimal brightness and reduces voltage drops. A constant voltage power source helps maintain uniform brightness across all strips.
Expert FAQs
- Can you connect different brands of LED strips? Yes, but ensure voltage, wattage, and color temperature compatibility.
- How to bend LED strips 90 degrees? Use flexible connectors to maintain light quality.
- How many LED strips can be connected safely? Calculate the total power consumption and ensure it doesn’t exceed the PSU’s capacity.
Conclusion With these tips, you’re ready to light up your space with a seamless LED setup. Remember: measure twice, connect once. Enjoy the brilliance of your new lighting, and always prioritize safety!
#LEDLighting #DIY #HomeImprovement #LightingDesign #SmartHome #InteriorDesign #LEDTips #LightingSolutions #TechSavvy #CustomLighting